Graphics

Procedural Vines - Vertex Animation

Shader
Vertex Animation
PBR
ASE

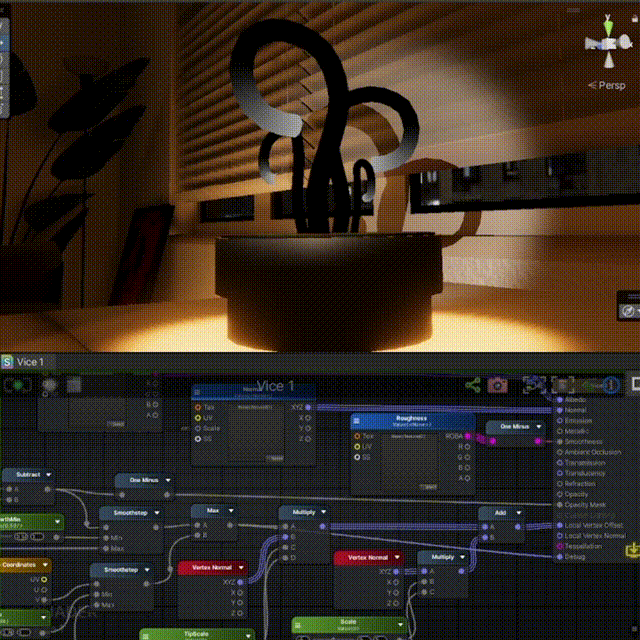
A study in vertex displacement combined with standard PBR. Moving animation logic to the Vertex Shader allows for organic growth without using skeletons. Key features include UV-based masking, dual-curve thickness control, and vertex pinching to close holes.

Procedural Vine Growth Shader
VINE::GROWTH_LOGICSTATUS::MODIFIED
Input Assembler[FIXED]
Vertex Shader[SHADER]
Tessellation[SHADER]
Geometry Shader[SHADER]
Rasterizer[FIXED]
Fragment Shader[SHADER]
Output Merger[FIXED]
MODIFIED
UNTOUCHED

The Goal: Growth Without Rigs

Animating growing vines usually needs skeletons (rigging) or complex caches. I wanted to do this entirely with Shader Math to keep it simple and fast.

The challenge: How to make a static mesh look like it is growing out of the ground?


1. The Method: Vertex Displacement

Unlike my previous shaders that changed colors (Fragment Shader), this one changes the 3D shape (Vertex Shader).

The Workflow:

  1. Mesh: A cylinder modeled in Blender.
  2. Growth: Using Alpha Test to cut the mesh.
  3. Shape: Using Normal direction to make it thicker.
  4. Fix: Pinching the top vertices to hide the hole.

2. Mesh & UVs

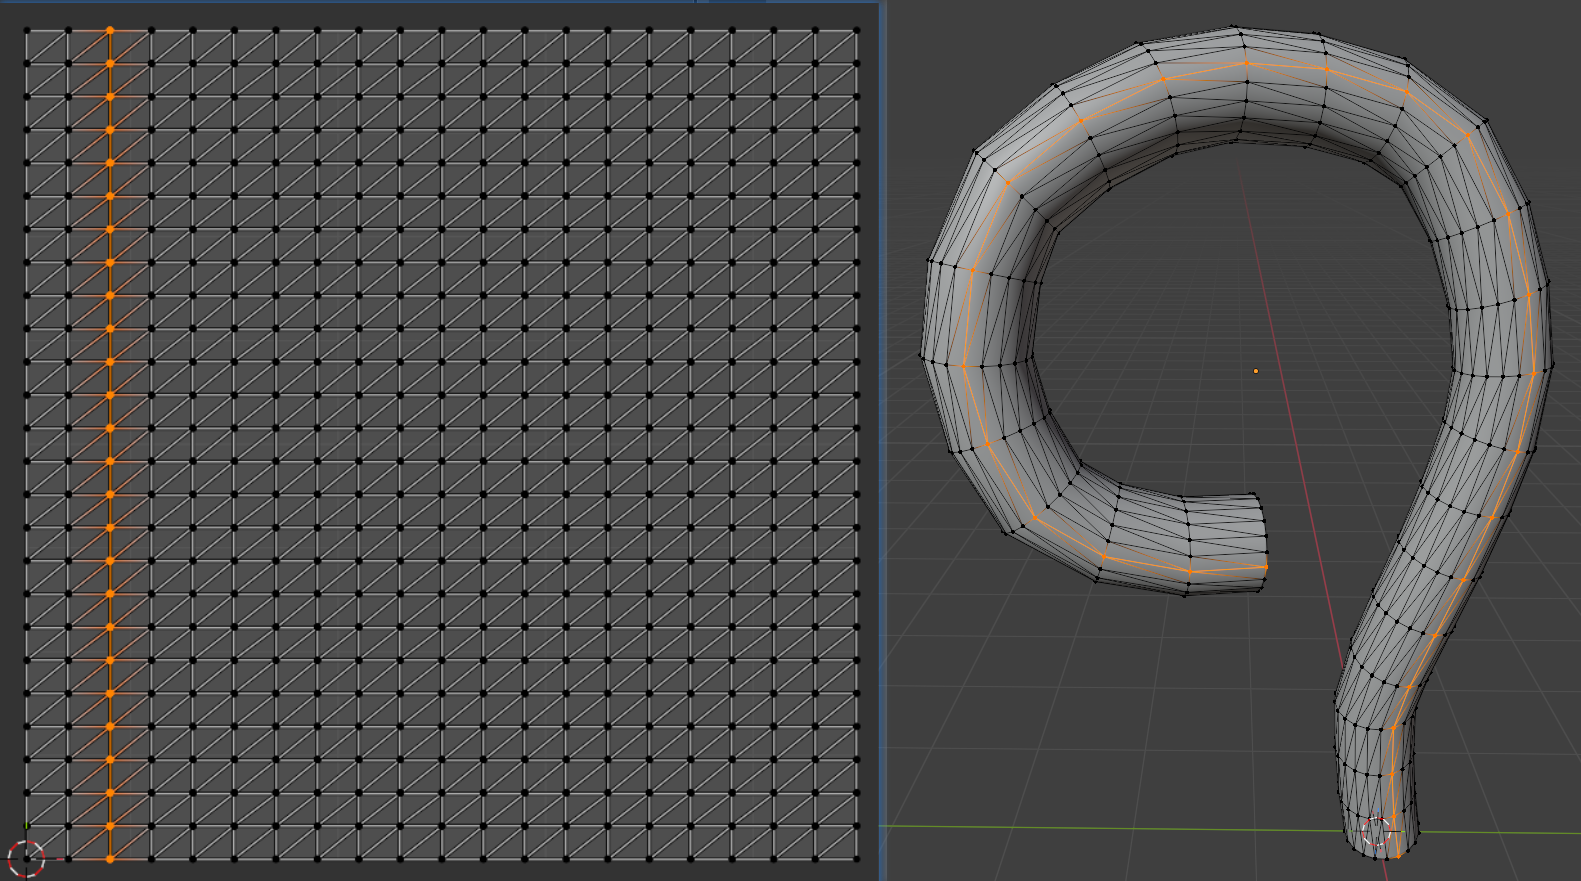
The shader relies on the UV layout.

  • Geometry: A curved cylinder.
  • UV Mapping: The Y-axis (V) goes from 0 (bottom) to 1 (top).

We use UV.y as a timeline. If UV.y is lower than the Growth slider, that part of the vine is shown.

Blender mesh wireframe showing the UV layout
The UV Y-axis is used as the timeline for growth.

3. Growth Logic (Opacity & Thickness)

A. The Cut (Alpha Test)

To show the vine growing, I use Alpha Test (Masked Mode).
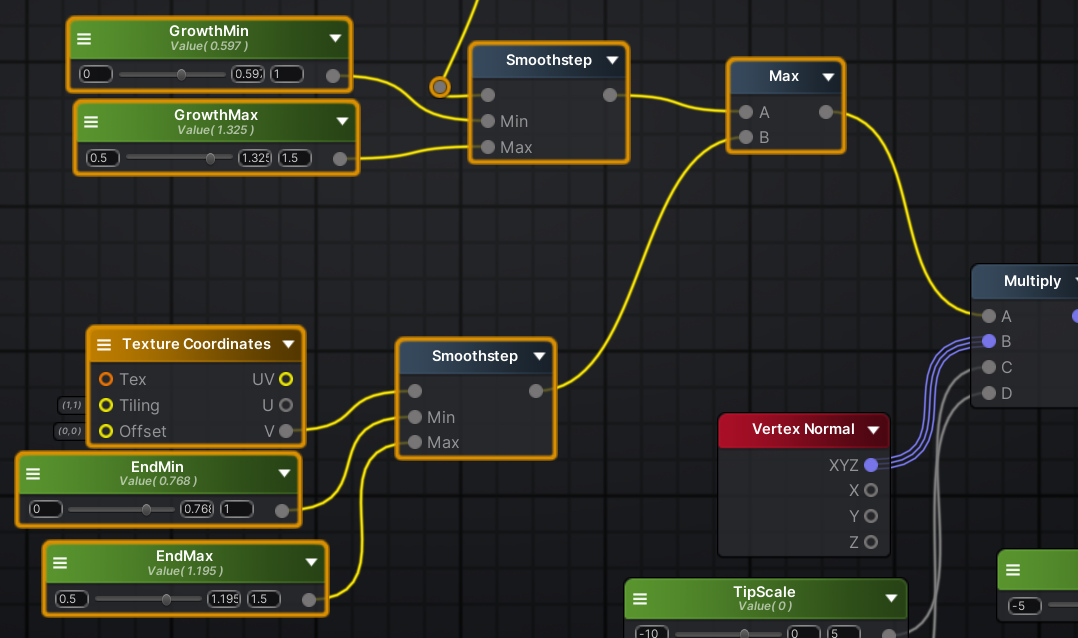
  • Logic: I subtract UV.y from the Growth value.
  • Result: If the result is negative, the pixel is deleted (clipped).

This reveals the vine from bottom to top, but it leaves a flat, open hole at the top.

Alpha Test Result
Basic Alpha Test reveals the mesh but leaves a hollow, unnatural cross-section.

B. Controlling Thickness (Dual Curves)

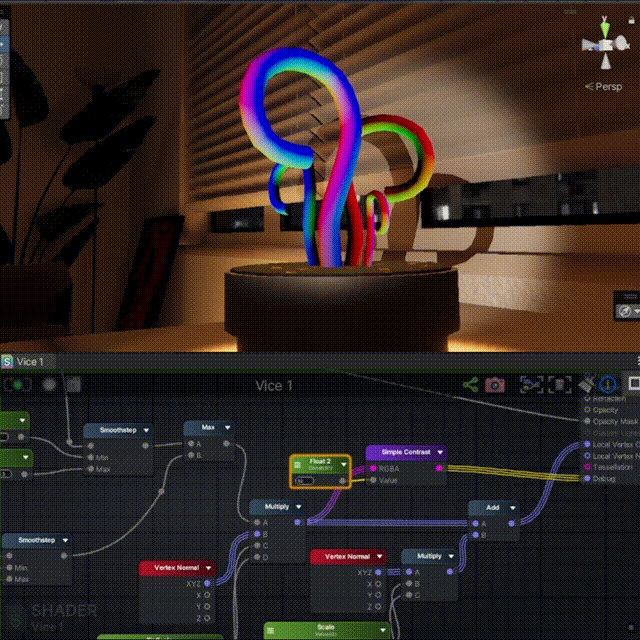
To make the vine look organic, I can’t just scale it evenly. I used two separate curves and combined them.

  1. Body Curve: Controls the main thickness of the vine. It keeps the grown parts thick.
  2. Tip Curve: Controls the very end of the growth. It makes the tip sharp.
  3. Max Node: I use a Max node to blend them. It simply picks the larger value. This ensures the stem stays thick while the tip can still be sharp.
Node graph showing Max blending logic
Shader Graph: The Max node blends the Body curve and the Tip curve.
Thickness Animation
Result: The vine now has organic volume, but the tip is still flat.

4. Closing the Hole (The Pinch)

Since Alpha Test cuts the mesh, the top is hollow. To fix this, I added a specific offset to the tip.

The Logic: I calculate the final position by adding two offsets together:

  1. Main Expansion: Pushes vertices out to make the vine thick.
  2. Tip Pinch: Pulls vertices in (negative offset) but only at the very top edge.
FinalPosition=Position+(Normal×Expansion)+(Normal×TipPinch)FinalPosition = Position + (Normal \times Expansion) + (Normal \times TipPinch) Visualizing the Pinch
Visualizing the logic: The pinch force is applied only to the tip.

Why Additive? By adding a negative value (like -10) to the tip, the vertices are forced to collapse into a single point. This creates a cone shape that closes the hole.

Growth sequence demonstration
The final pinch effect closes the mesh before the pixels are cut off.

5. Lighting (PBR)

For the surface, I used standard PBR textures (Albedo, Normal Map). Because I modified the vertices in the shader, the PBR lighting (shadows and highlights) updates automatically as the vine grows and changes shape.

Final result with PBR material
Final Result: The vine grows and reacts to light realistically.