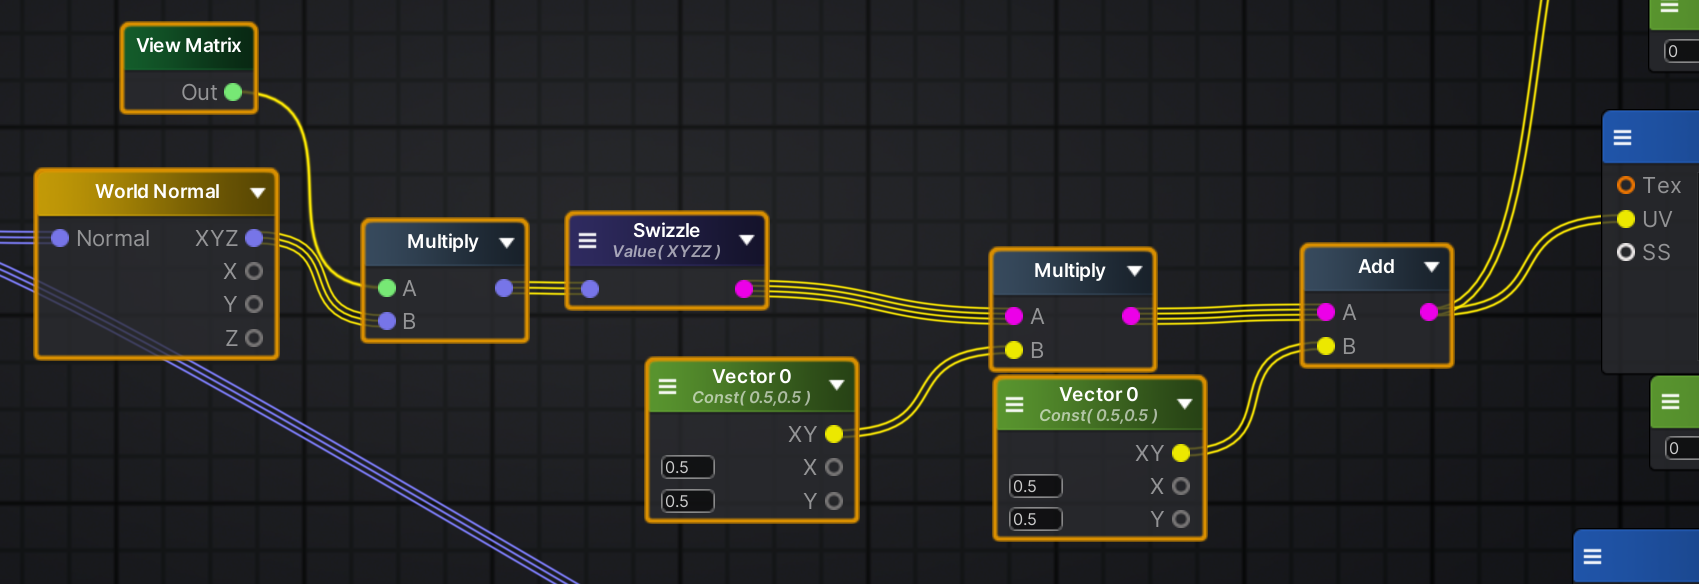
Gallery


A stylized approach to biological structural coloration using Material Capture (MatCap) techniques. This case study demonstrates how to achieve complex, view-dependent optical effects efficiently by utilizing view-space normal mapping and gradient lookups instead of expensive physical simulations.
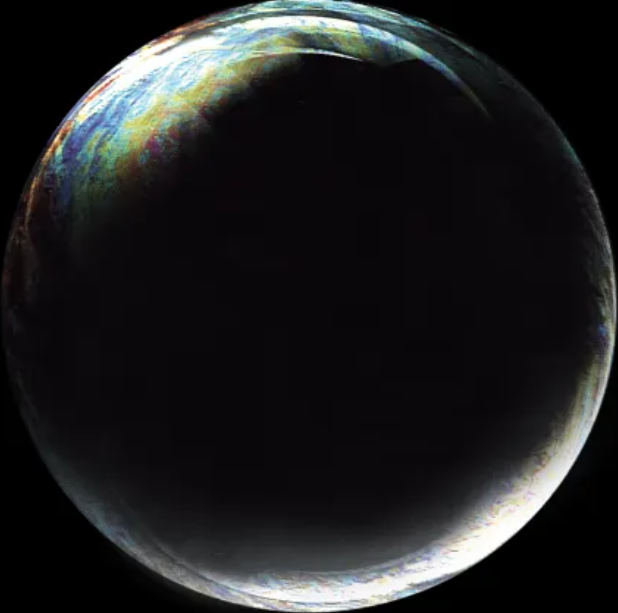
Replicating the complex, shifting sheen of insect chitin (known as biological structural coloration) is computationally expensive in standard PBR pipelines. Achieving specific artistic control over anisotropic highlights and iridescent color shifts using physical parameters like IOR and thin-film thickness is often unintuitive for artists.
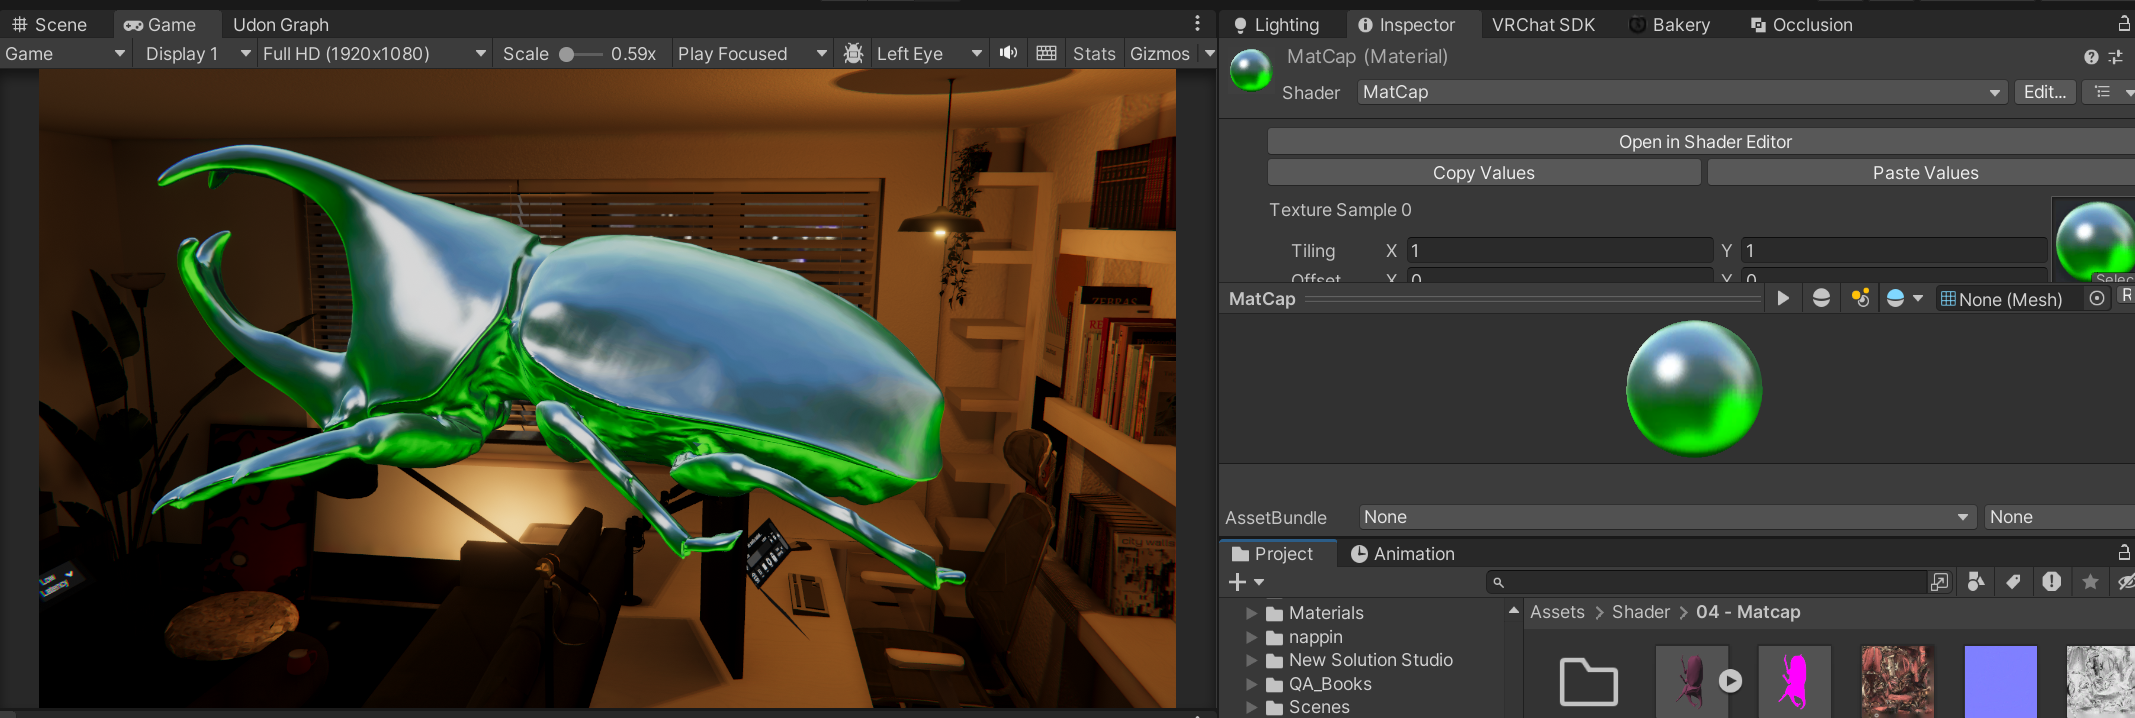
The Goal: Create a performant, artist-friendly shader for a Jewel Beetle that accurately mimics the “five-color black” phenomenon, prioritizing specific aesthetic control over physical simulation.
The Solution: Utilizing MatCap (Material Capture) techniques to bake complex lighting behaviors into textures, layered with Fresnel-driven gradient mapping.
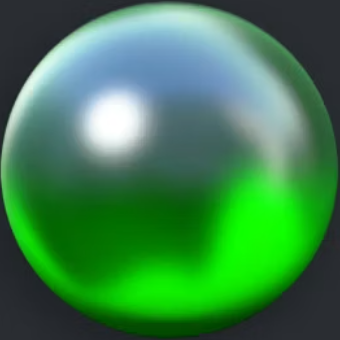
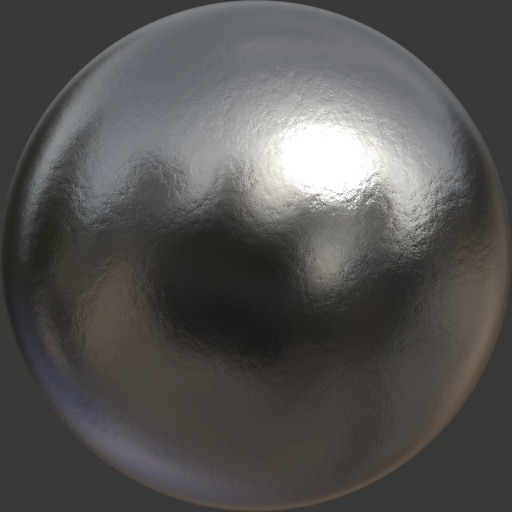
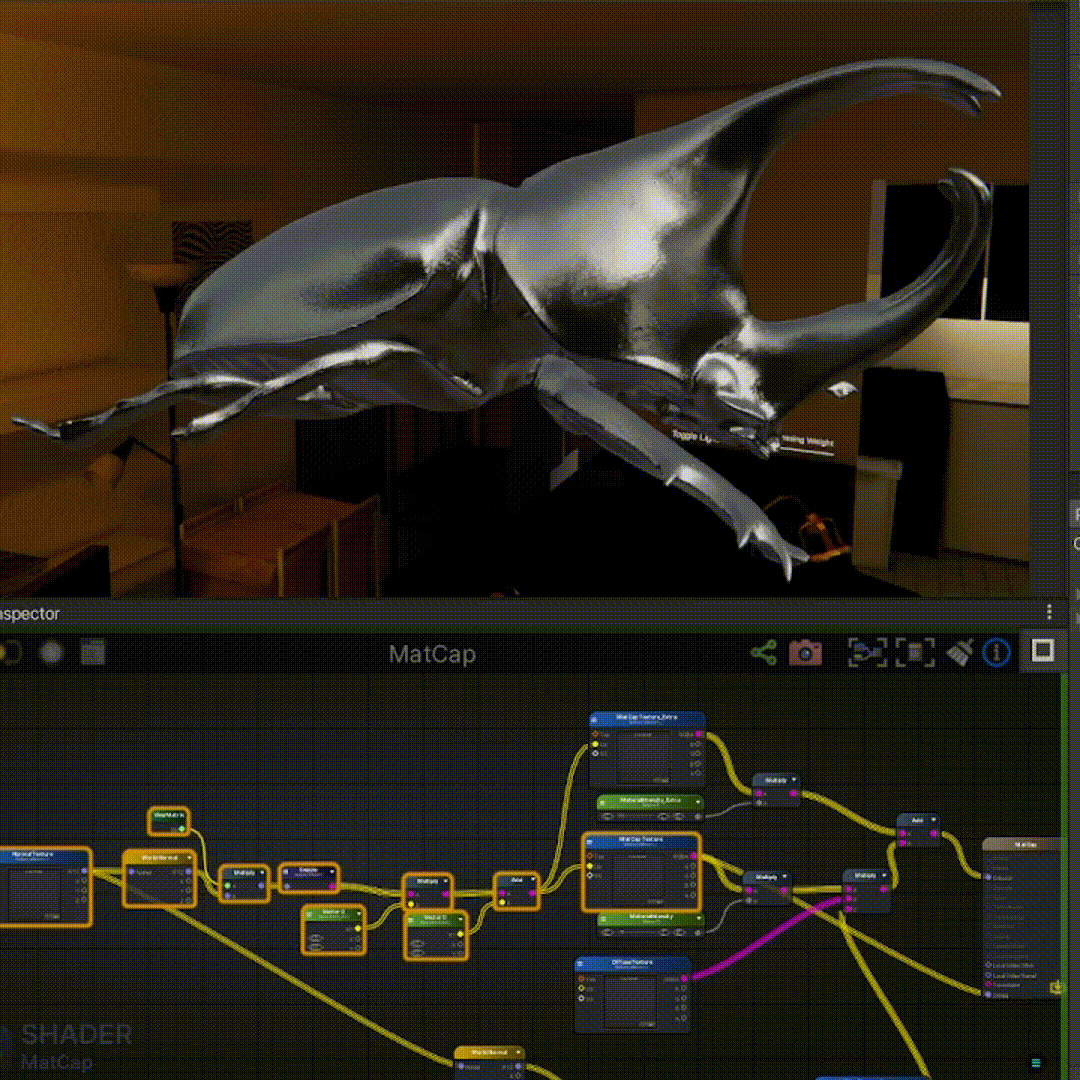
Instead of calculating real-time lighting, MatCap samples lighting information from a pre-baked spherical texture based on the surface’s orientation relative to the camera.
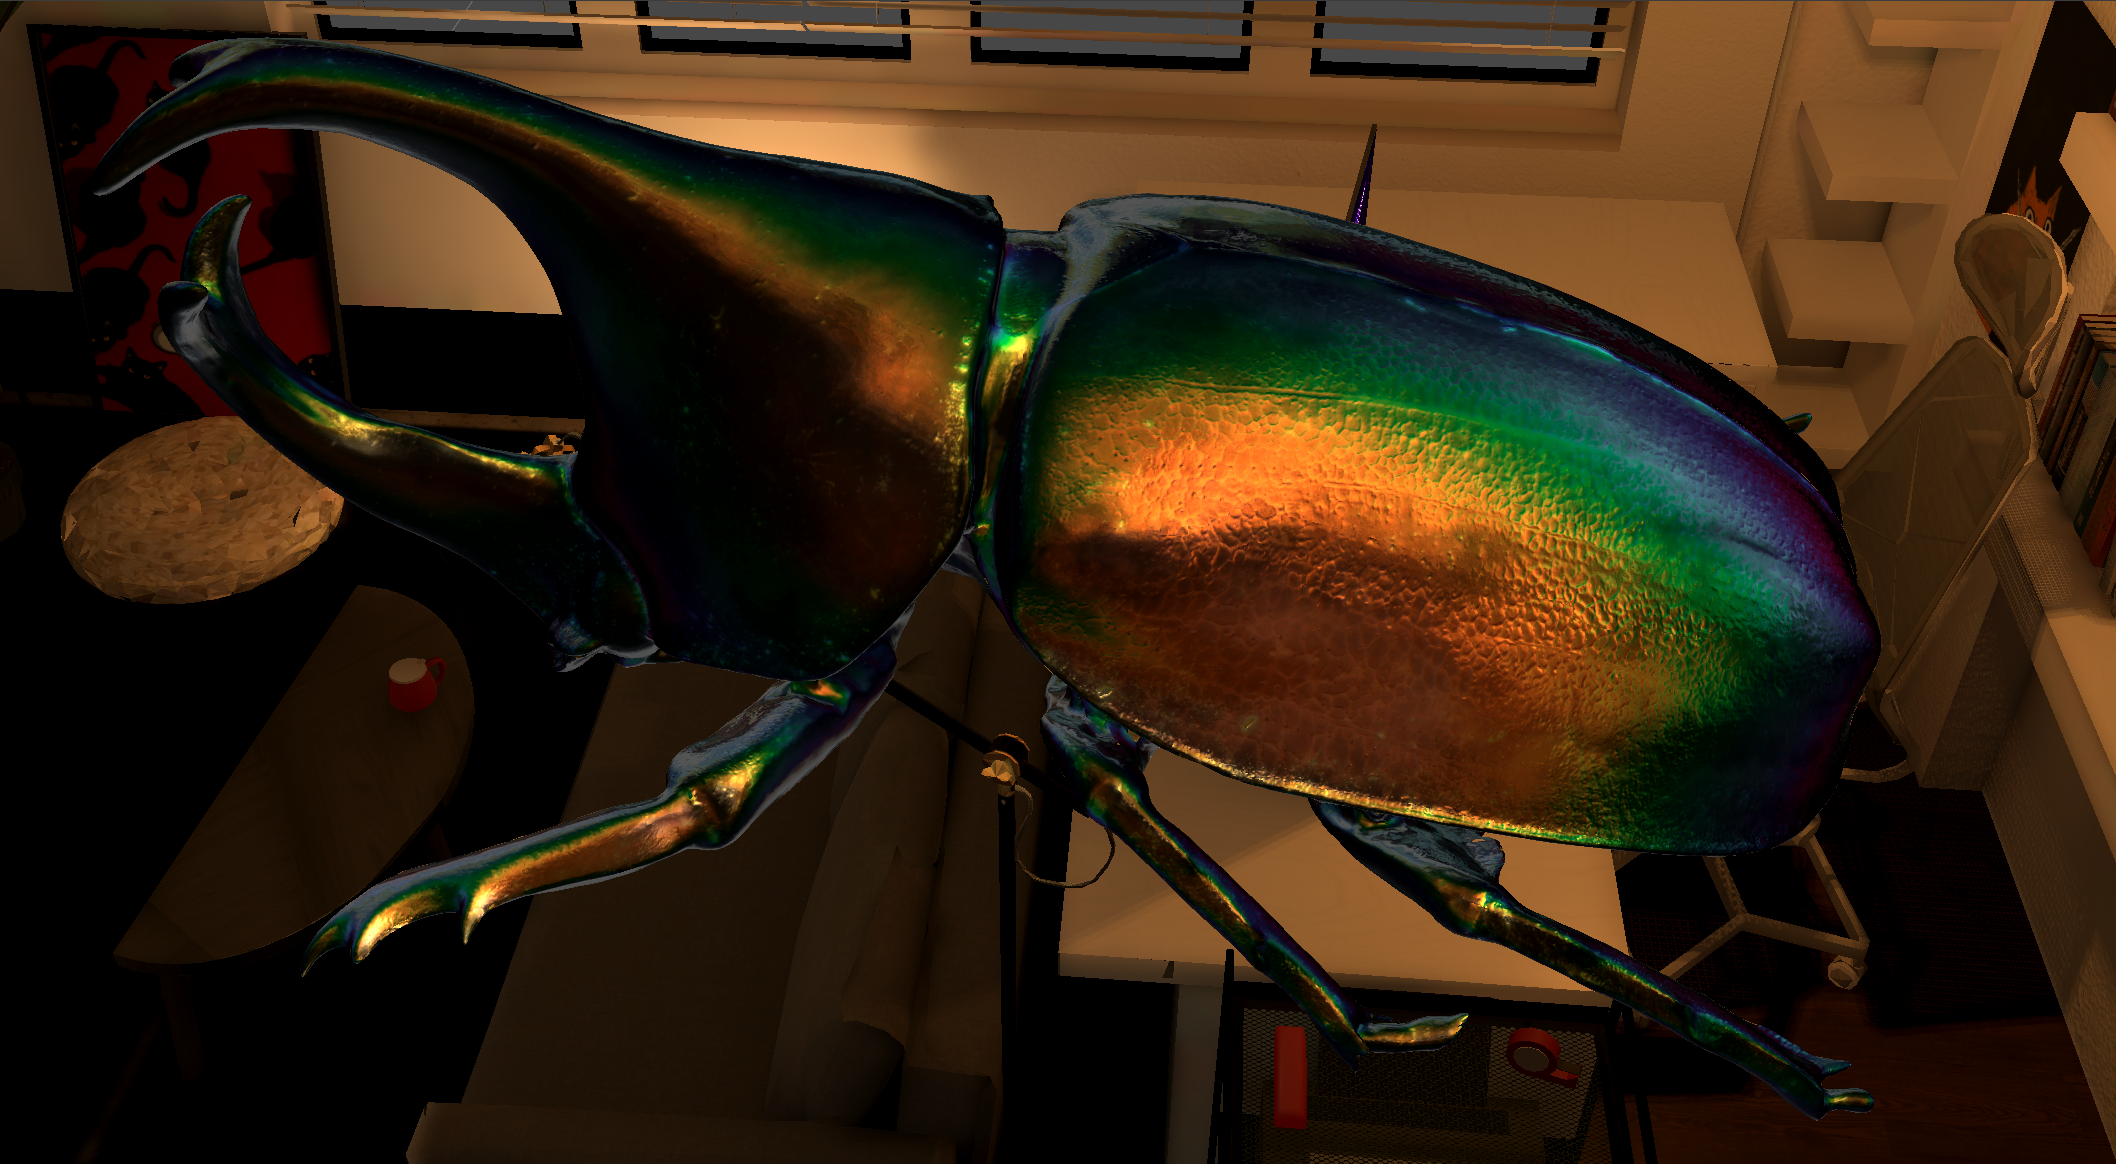
The crucial step is transforming normals from World Space to View Space (Camera Space). This ensures the reflection “sticks” to the camera’s perspective rather than rotating with the object, correctly mimicking how highly reflective surfaces behave relative to the viewer.
By using this UV to sample a MatCap texture containing anisotropic metallic highlights, we achieve complex reflection behavior with minimal computational cost.
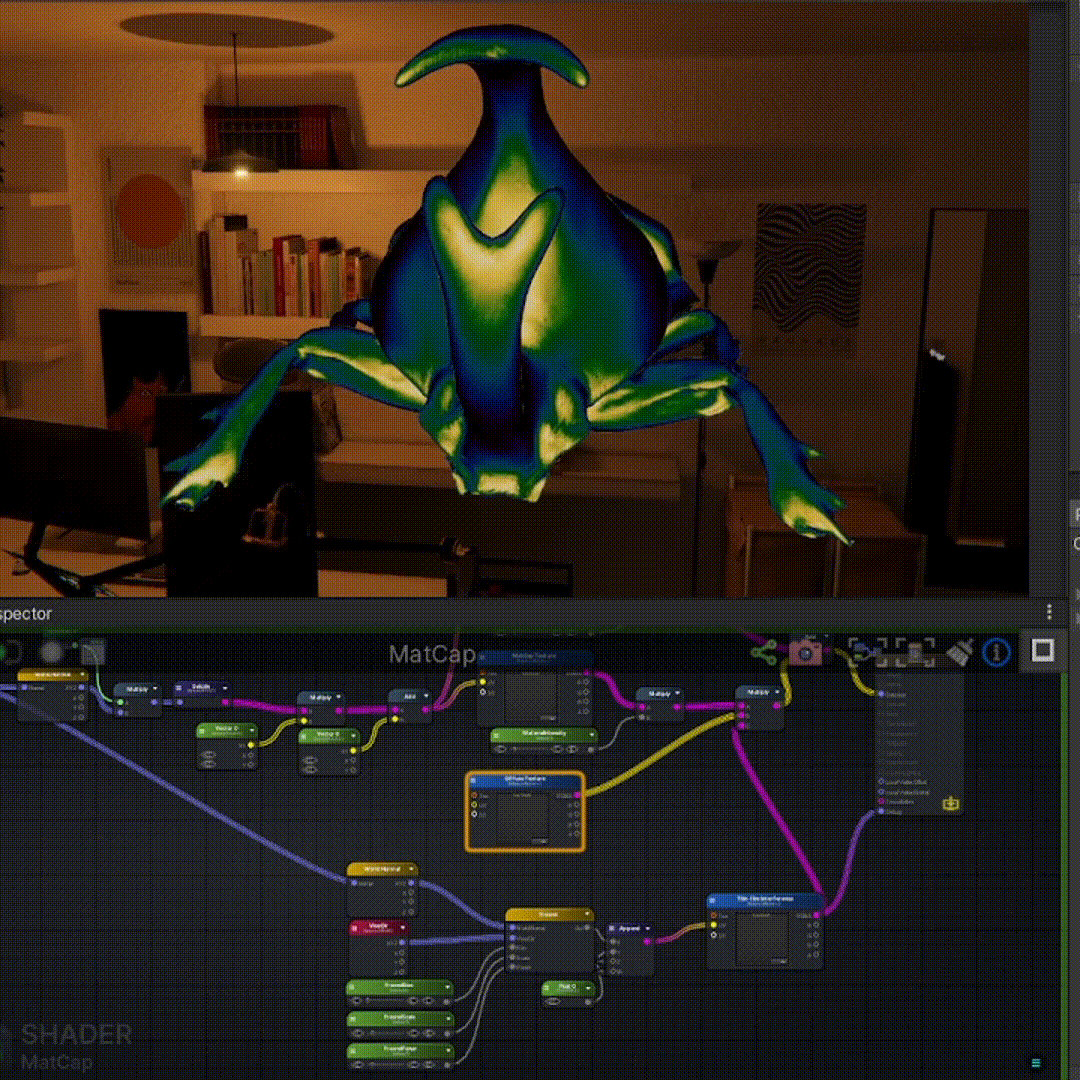
To achieve the characteristic color shift of the beetle’s shell, I bypassed complex spectral rendering in favor of a simplified Gradient Mapping approach driven by the Fresnel effect.
Using the dot product of the Normal and View direction (), we determine the viewing angle. This value is used as the U-coordinate to sample a spectral ramp texture.
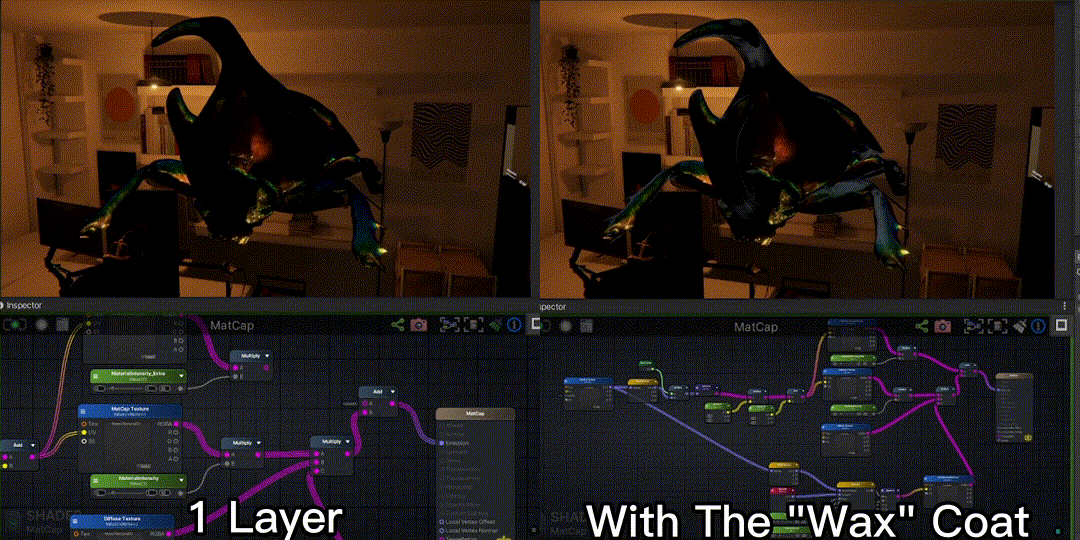
A single material pass lacks the organic depth of biological matter. To achieve a “waxy” chitinous look, I implemented a multi-pass layering strategy within a single shader.
We compose the final material by layering two distinct MatCap textures:
This additive approach provides depth and breaks up the uniformity of a single texture lookup.
While modern engines support physical iridescence, choosing MatCap for this specific asset was a deliberate technical and artistic decision.
1. Optimization vs. Aesthetics For a stylized “hero prop,” physical accuracy is secondary to specific artistic intent. MatCap allows us to “break physics” to achieve a hyper-real aesthetic that reads clearly even in complex lighting environments, at a fraction of the GPU cost of standard PBR iridescence.
2. Bridging Art and Tech Abstract PBR parameters like “Anisotropy: 0.8” are difficult for artists to visualize. MatCap serves as a concrete visual language. It allows an Art Director to paint the exact highlight shape and color transition desired in Photoshop, guaranteeing the in-engine result matches their vision perfectly. It shifts the workflow from parameter tuning to direct visual creation.